Screencast
Quick Start Guide Project

In my Homepage, I introduced the concept of screencasting specifically for producing Quick Start Guide (QSG) screencasts.
It links to the Screencasting webpage where I discuss why novice technology users appreciate screencasts, the benefits for them and businesses who invest in their creation.
There one finds an outline of this project using the STAR – situation, task, action, and result framework.
In this page, I endeavor to concisely explain the STAR activities in greater detail with the hope that it will inspire you to consider screencasting for your next project.
Situation
For this project, students had to choose a hypothetical client who offered a software product or service. I chose LinkedIn Learning (LIL) as my focus, addressing how individuals could access its resources for free—a timely topic given current economic challenges.
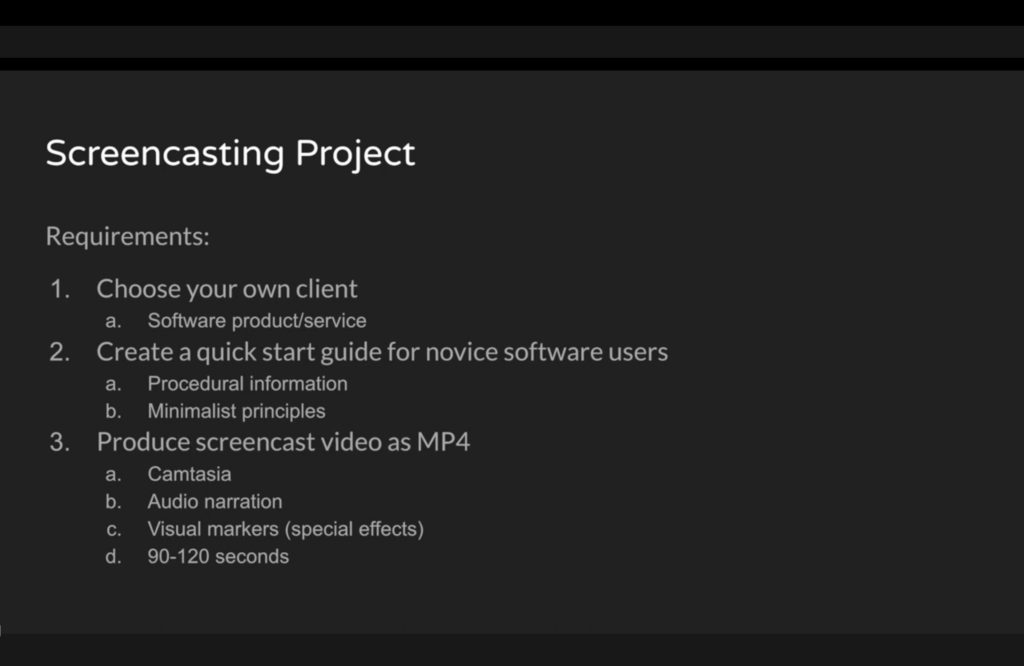
The QSG video needed to be clear, concise, and engaging, with a runtime between 90-150 seconds, and include visual markers, narration, and effective design (CRAP principles: Contrast, Repetition, Alignment, Proximity).
Additionally, the QSG video had to focus on procedural information and follow minimalist principles to ensure that novice users could confidently complete the screencast’s steps. See the image below.
Task
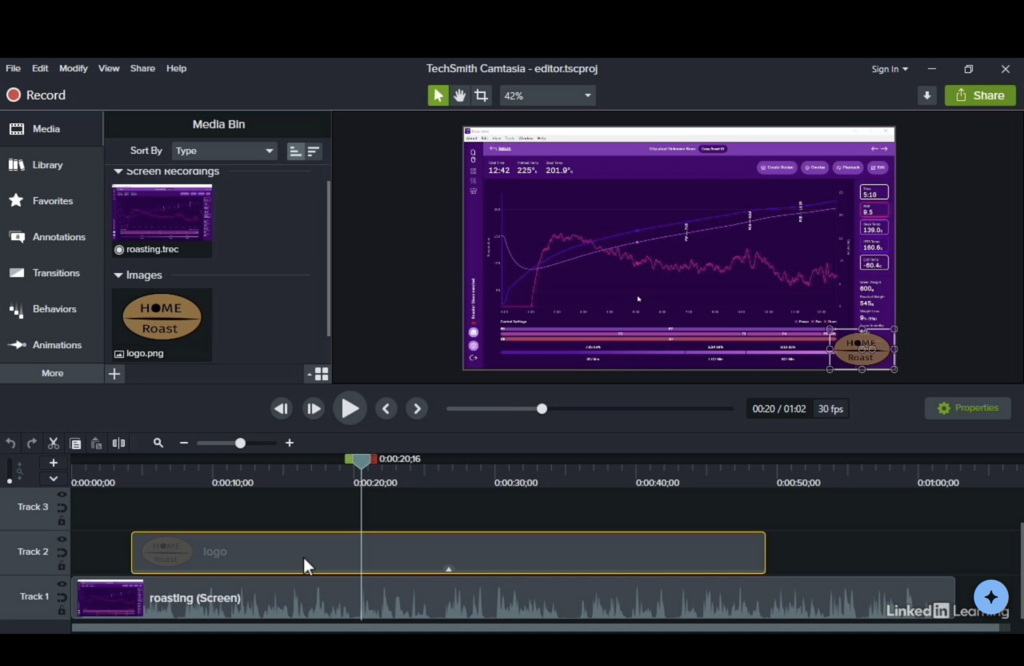
With no prior experience or knowledge of screencasting, I had an uphill climb to learn its processes and techniques. After, researching Camtasia, I was pleased to learn it was a user-friendly, all-in-one screen recording and editing solution for beginners.
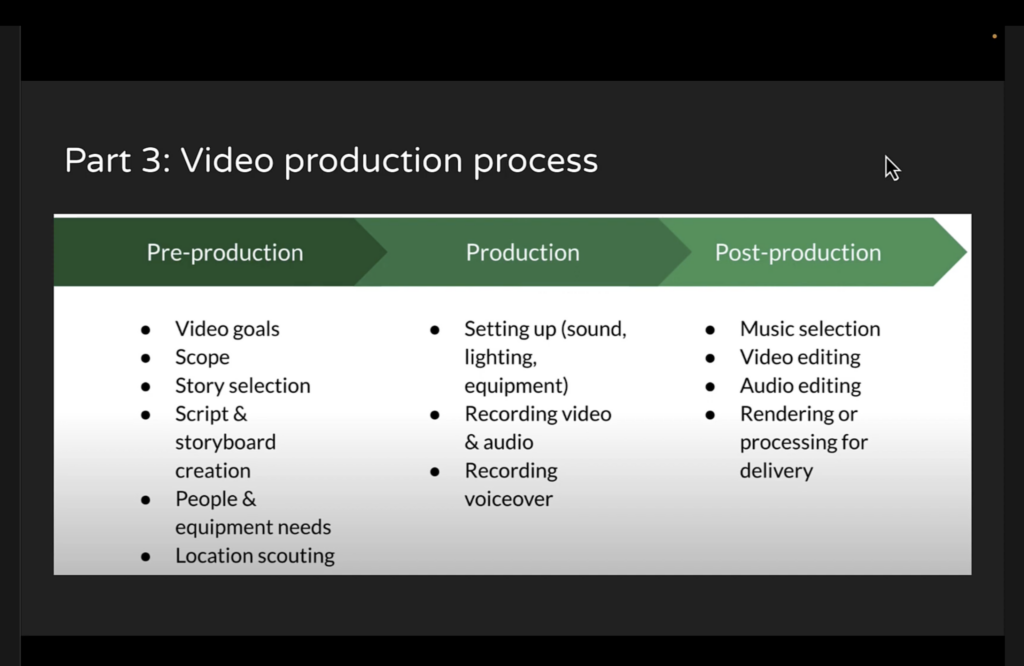
For me learning the basics of video production stages and their techniques was not enough. I understood that:
- Pre-production involved defining goals, scripting, and storyboarding.
- Production is the actual recording of video and audio
- Post-production is about editing, enhancing visuals, balancing audio, and rendering (sharing)
However, I needed to understand the value and relevance of each stage to apply their techniques and create the screencast as best I could.
In the Action section, that follows, I demonstrate my understanding of the video production process.
Action
Pre-Production: The Foundation
Every successful screencast begins with pre-production—the planning stage that ensures clarity and purpose. I learned that this stage involves:
- Defining Goals: I began by researching what feature of LIL could be explained in 2 and a half minutes or less. My idea was to teach users something useful about this software service.
- Scoping the Content: My idea was to explain the different ways users could access the platform. This was a challenge considering the time constraints and the need to focus on essentials having less than 5 steps.
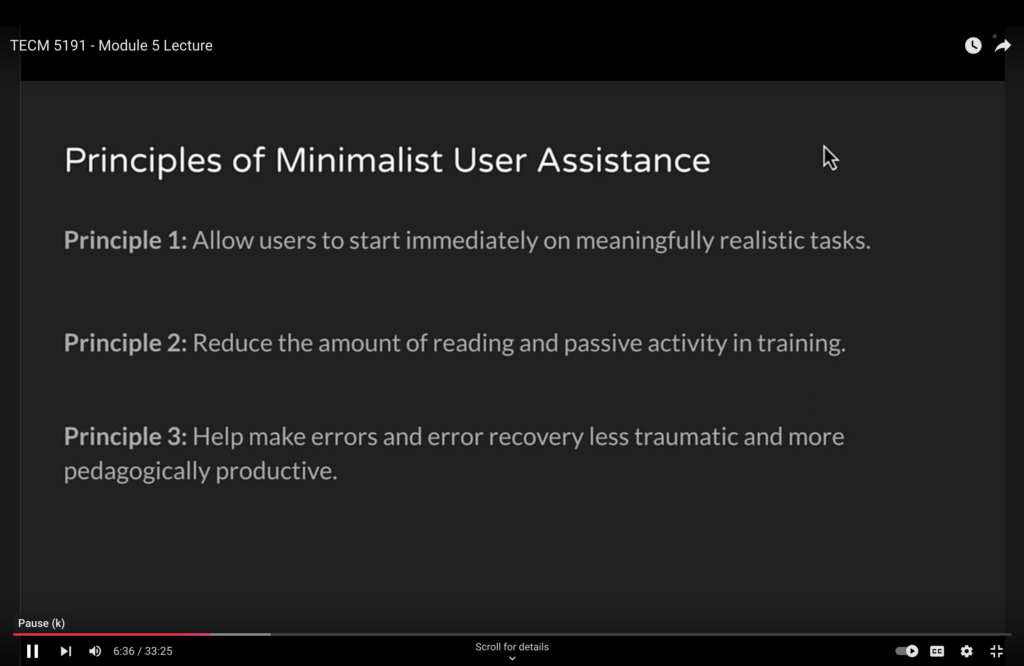
- Minimalism Principles: These principles are critical for QSGs and screencasting generally. Defined in the image below, they necessary to keep the viewer’s focus on the key steps, reduce their cognitive load, and enhance retention.
- Writing a Script: The script ensures that the narration is concise, informative, and engaging. Writing down every word in advance prevents filler words, awkward pauses, or redundant explanations. It serves as a guide for both recording and editing.
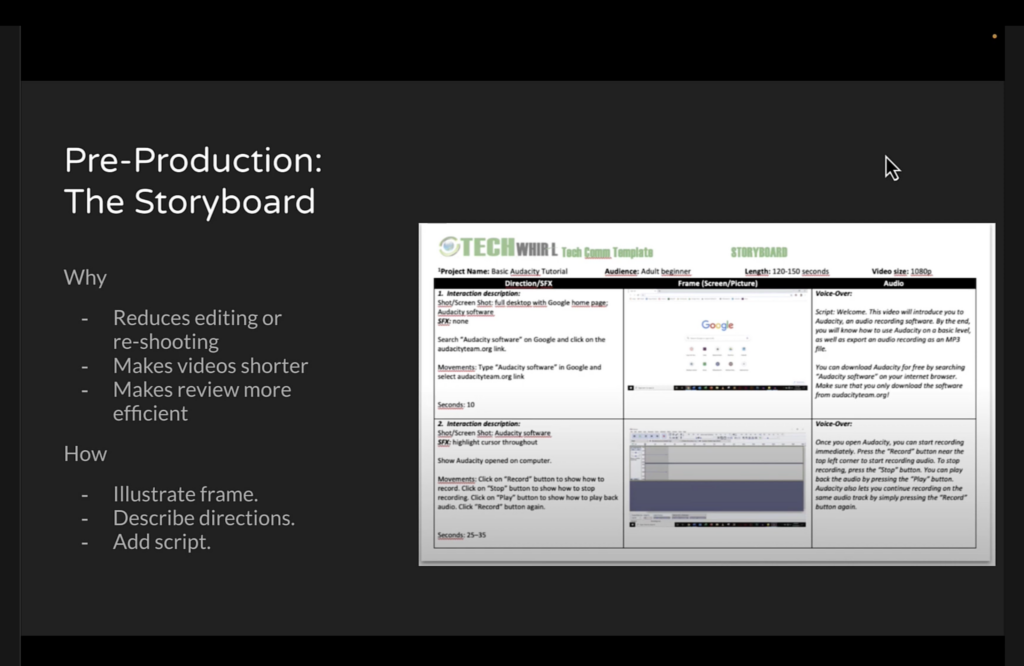
- Creating a Storyboard: This document depicted in the image below, helps visualize the screencast. It outlines each step alongside the script. It is a planning tool helps align visuals on the screen with narration and reduces the need for revisions later.
I accomplished my learning objectives during this stage by viewing Dr. Chris Lam’s Lecture videos, Camtasia tutorials on Linkedin and TechSmith.com. Also I consulted the supplemental learning resources in our instructional materials.
Production: Bringing My Idea to Life
Once my script and storyboard where in place, I was ready to begin production. At this stage, I learned that technical details and recording environment make a big difference in video quality.
For Setup:
- Downloaded and configured Camtasia on my MacBook Air M3.
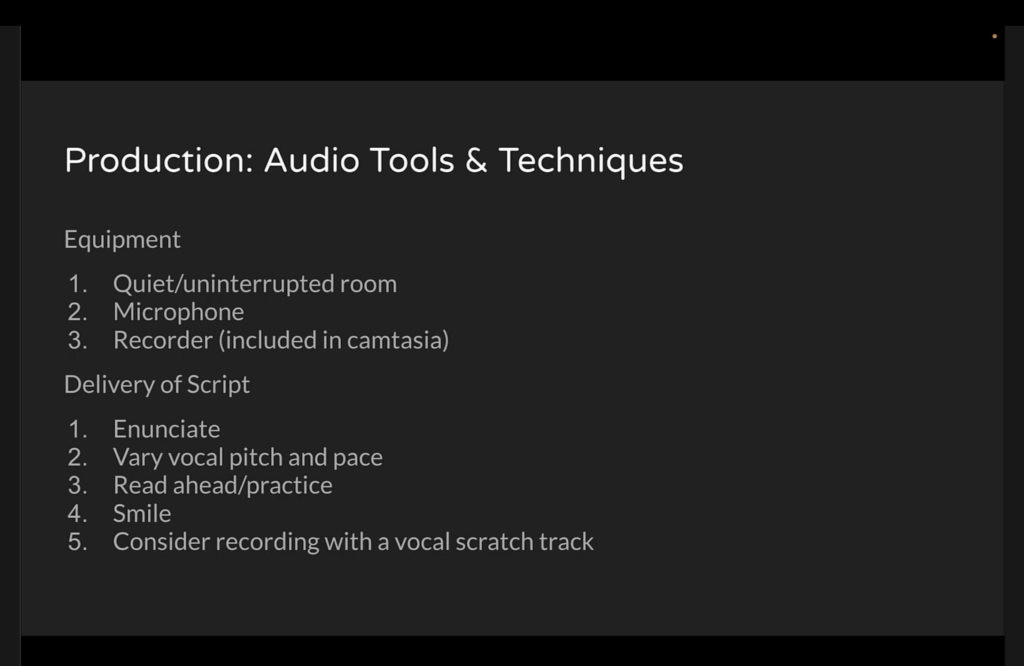
- Scheduled my recording during the most quiet time of the day
- Ensured adequate lighting
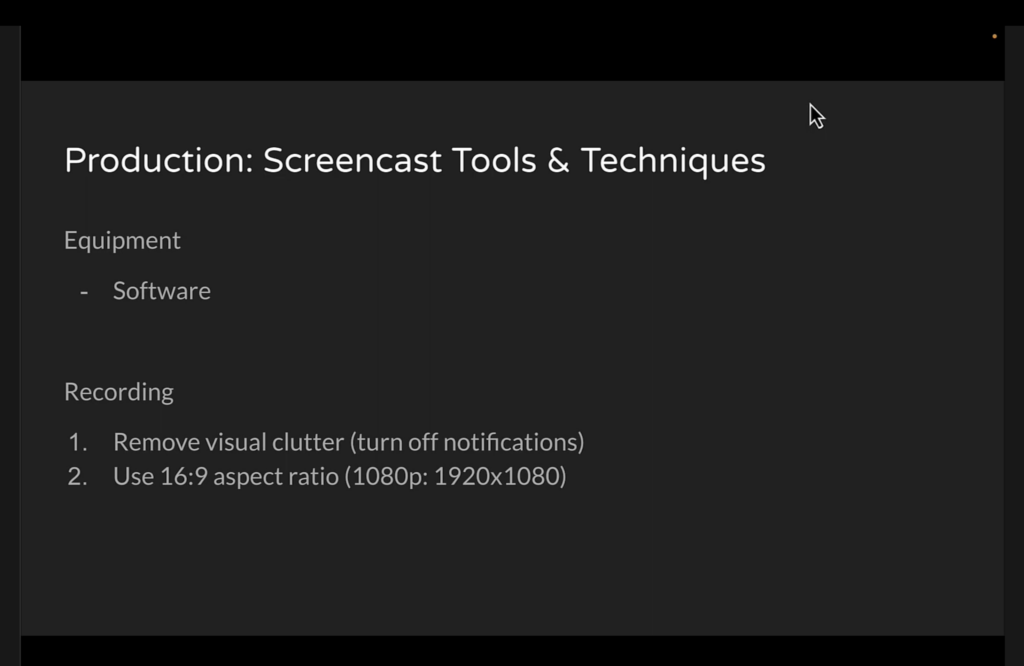
- Prepared a distraction-free recording environment both physically and in my computer by disabling notifications and organizing the desktop.
- Used a 16:9 aspect ratio (1080p resolution) to ensure compatibility across platforms.
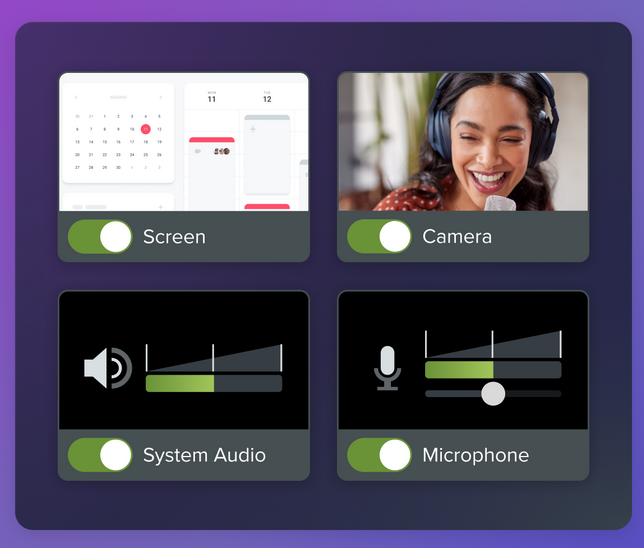
Camtasia’s versatile recording options, allowed me to combine screen video and camera video. I decided to record the visual screen and voice simultaneously, to ensure synchronization.
For Recording:
- Chose my audio source relying on the system audio not needing a microphone.
- Followed my script/storyboard as a guide, and spoke with clear enunciation, varied my pitch and pace in a warm tone
- Smiled to foster a human connection.
I conducted multiple practice recordings to refine my delivery and tried to present a natural, caring, informative video in an “non-teleprompter” style.
Post-Production: Focus on Camtasia
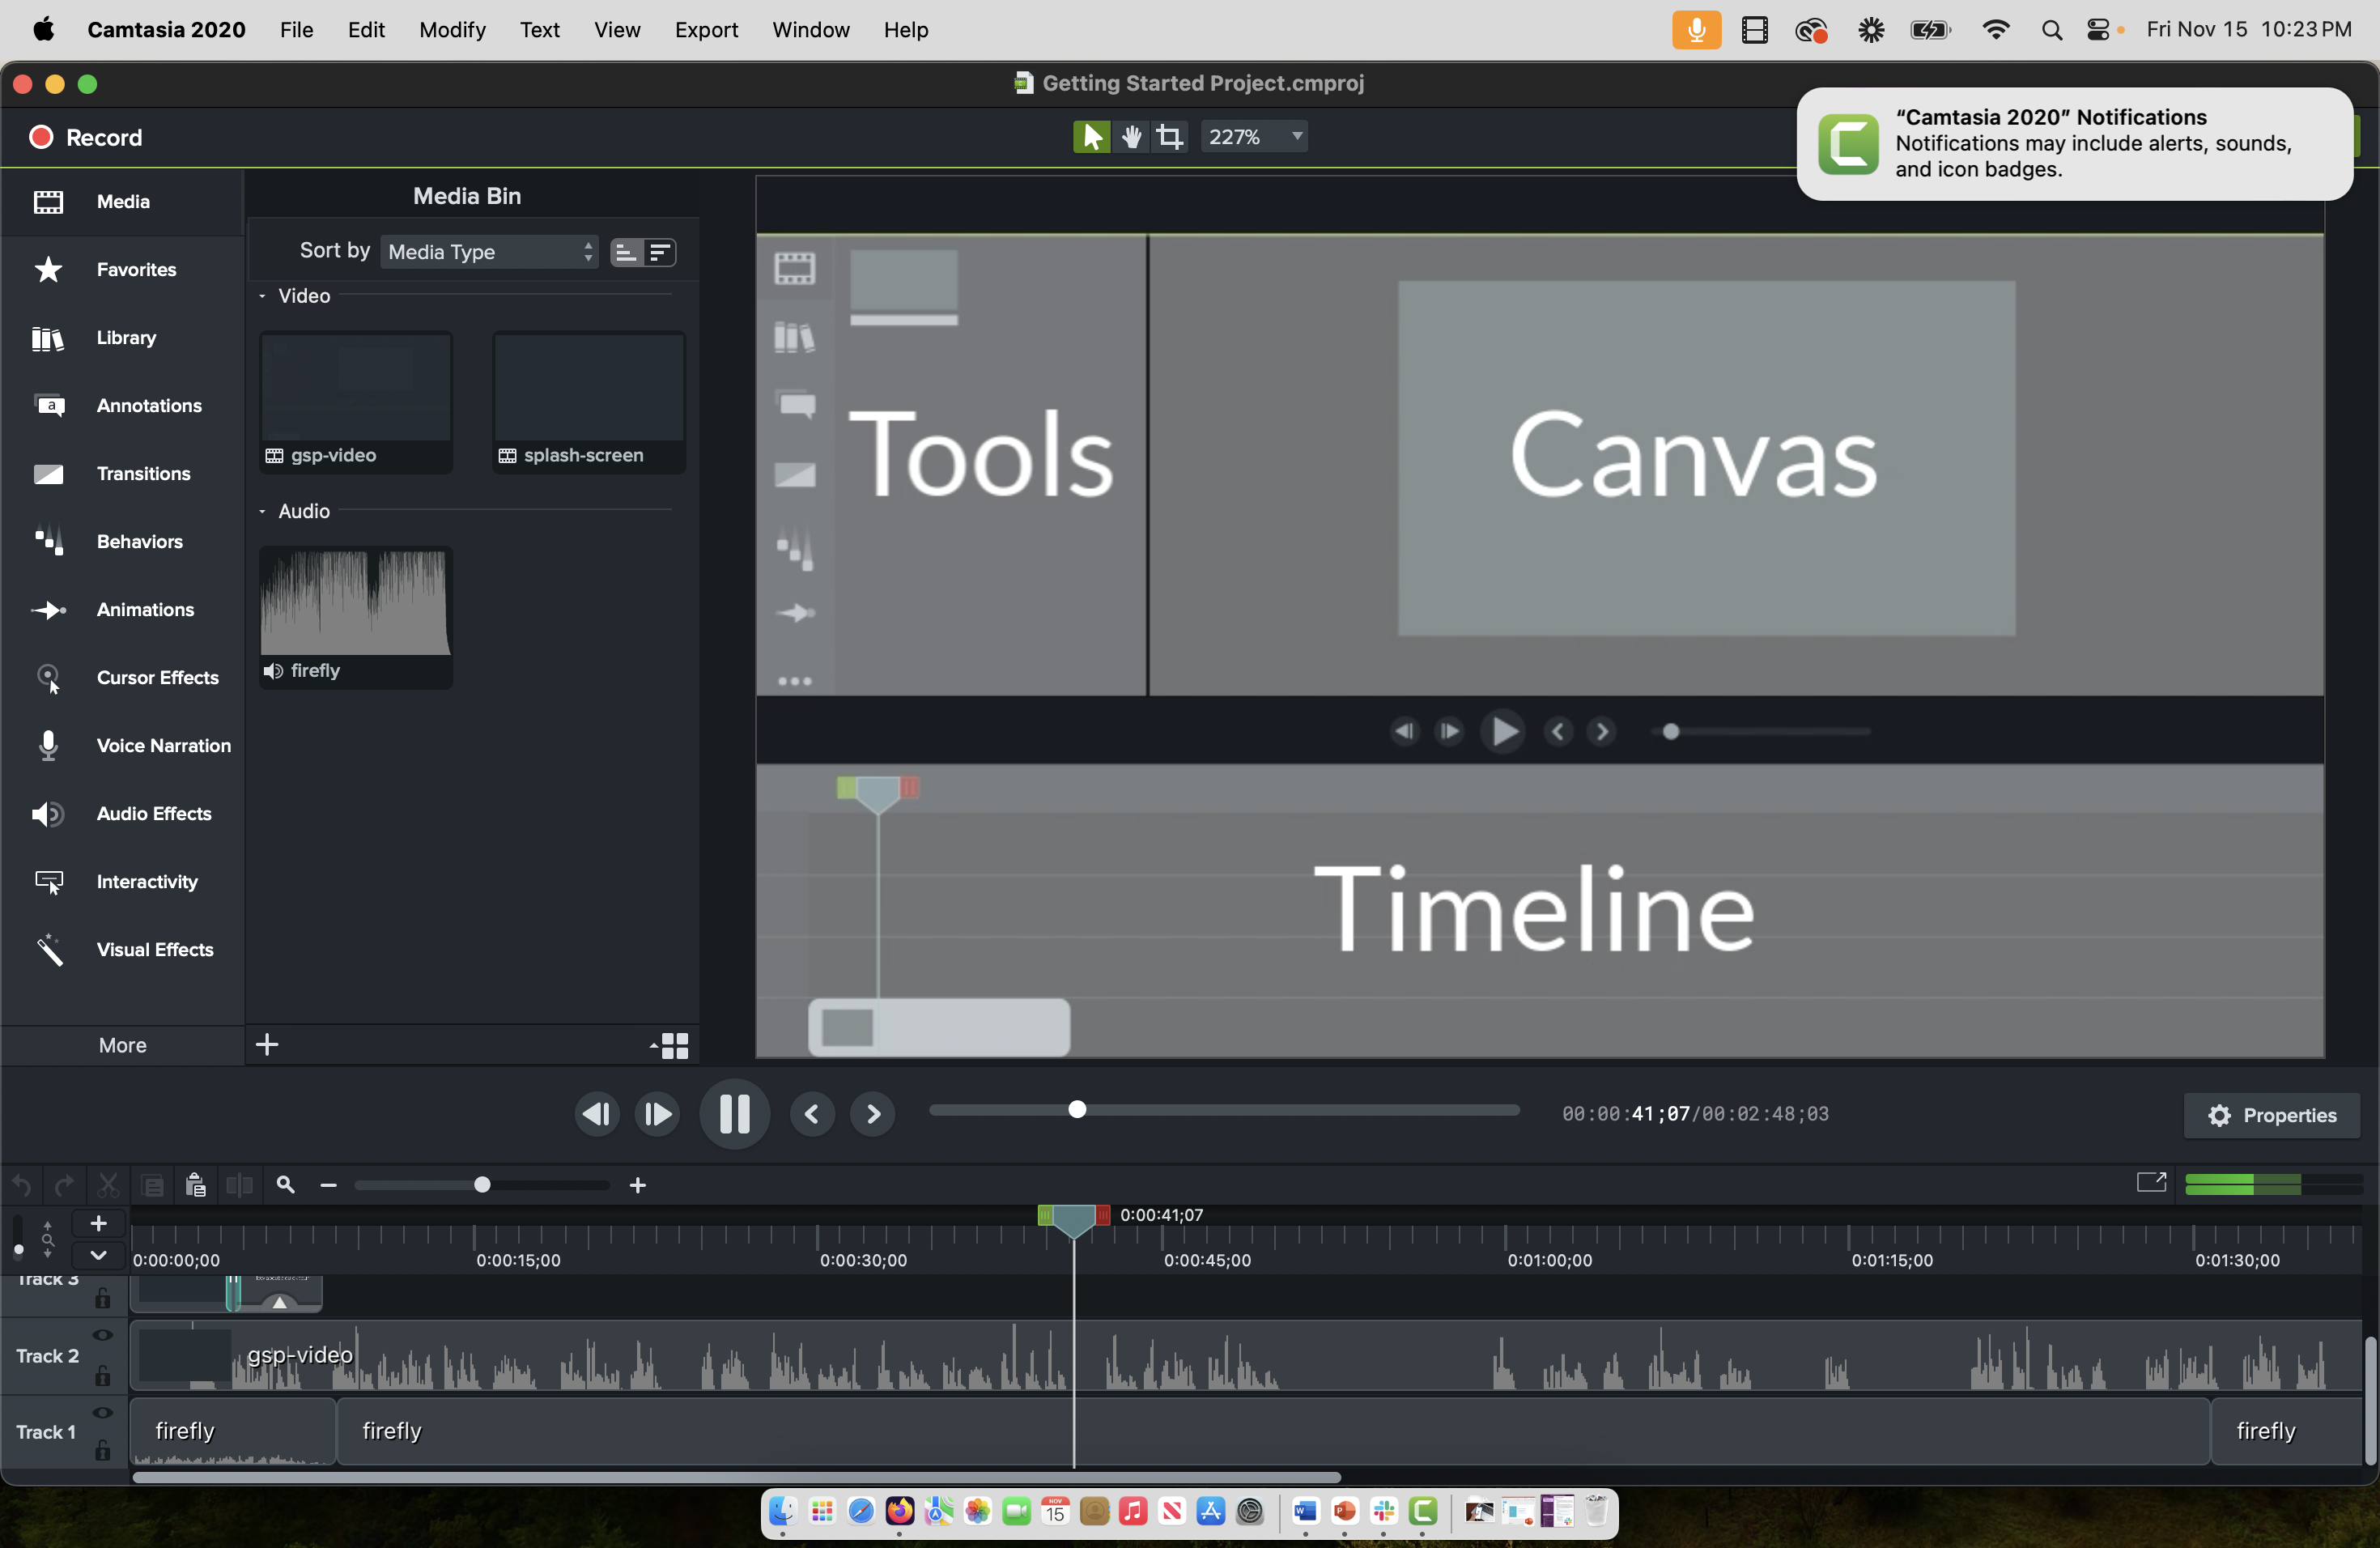
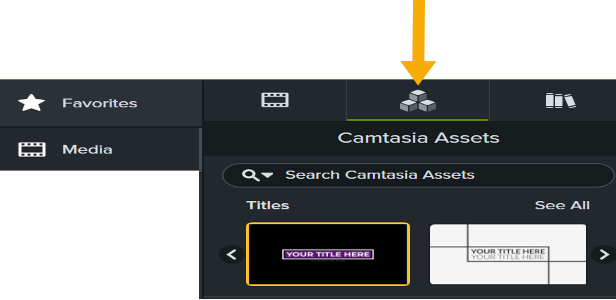
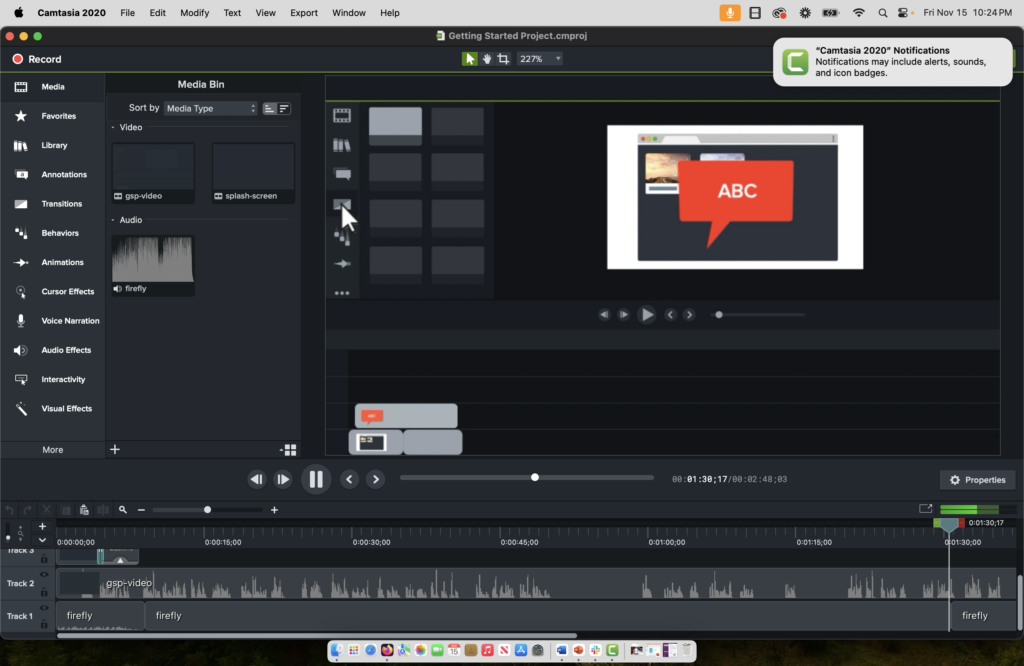
Began this stage by taking advantage of Camtasia’s video enhancement assets and easy drag-and-drop features. I searched the “free” assets categorized by type (audio, customizable, images and videos). Decided to keep it simple and focus on annotations (e.g., sketch motion callout, shapes, and animated title). These visual elements would direct the viewer’s attention and cover up areas in the video.
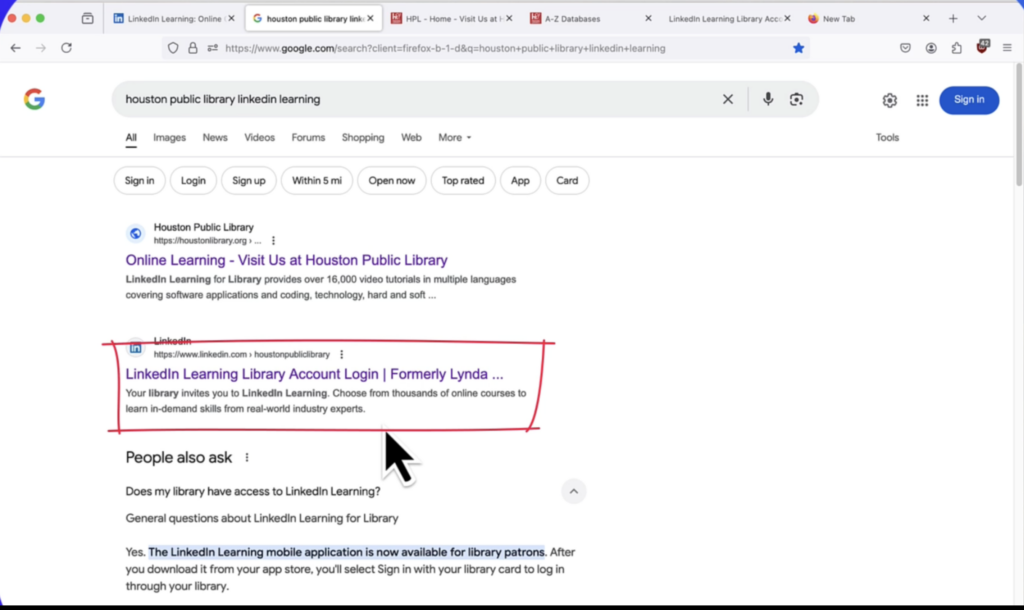
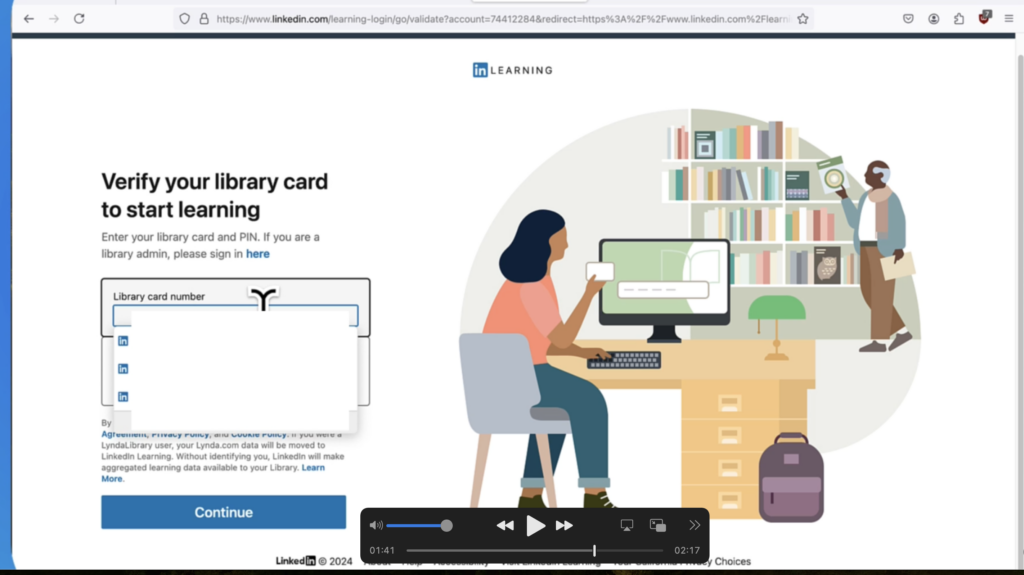
With the animated sketch motion callout, I gave the appearance of drawing on the screen to highlight a specific area being discussed. It gave the video rhythm and a sense of spontaneity. I used the shapes element to cover up personal information (e.g., email address) that needed to be hidden. The images below display examples of the annotations used
Editing video and audio:
- Trimmed unnecessary footage – by removing pauses and filler words
- Enhanced clarity with the annotations, and cursor effects
- Balanced audio levels, reduced background noise, and improved clarity and ensure a professional sound quality
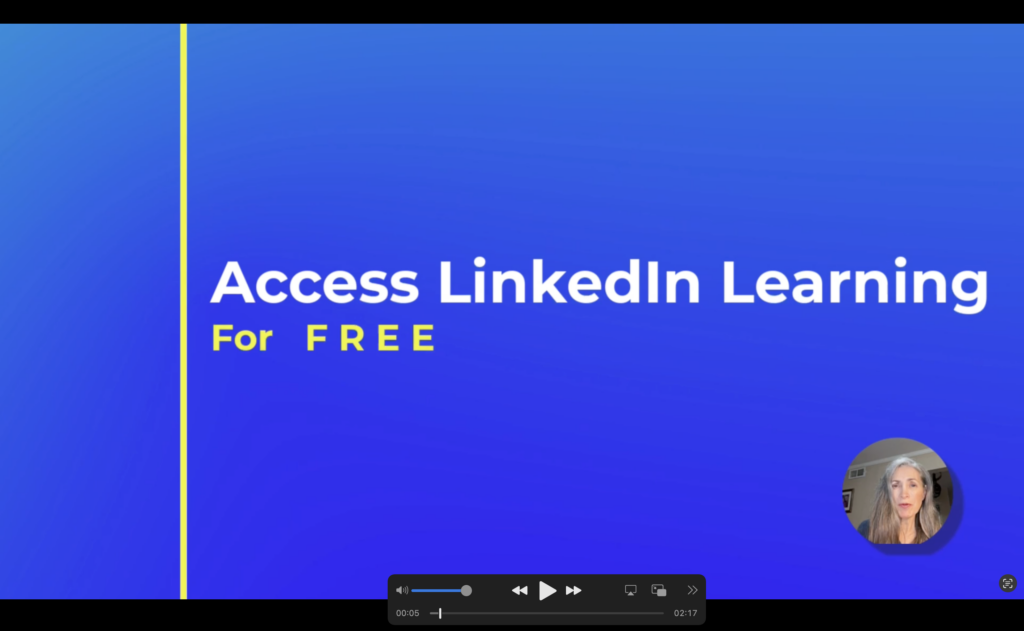
Enhancements: Added a static cover page, an automated title page using a dynamic color background to improve visual appeal.
Exporting: Rendered the final video as a 1080p MP4 file, meeting project requirements.
Results
The final 2 and a half minute QSG screencast received positive feedback for its clarity, pacing, and overall quality, despite being my first one ever.
The screencast successfully achieved the project’s requirements and provided a clear, engaging video for novice users needing to access LinkedIn Learning cost free. It helped me develop skills in video production, minimalist instructional design, and in applying design principles effectively.
It emphasized my ability to deliver a professional, user-focused solution, while demonstrating technical proficiency in Camtasia.
Watch my quick start guide and see how I applied video production techniques to create engaging instructional content.